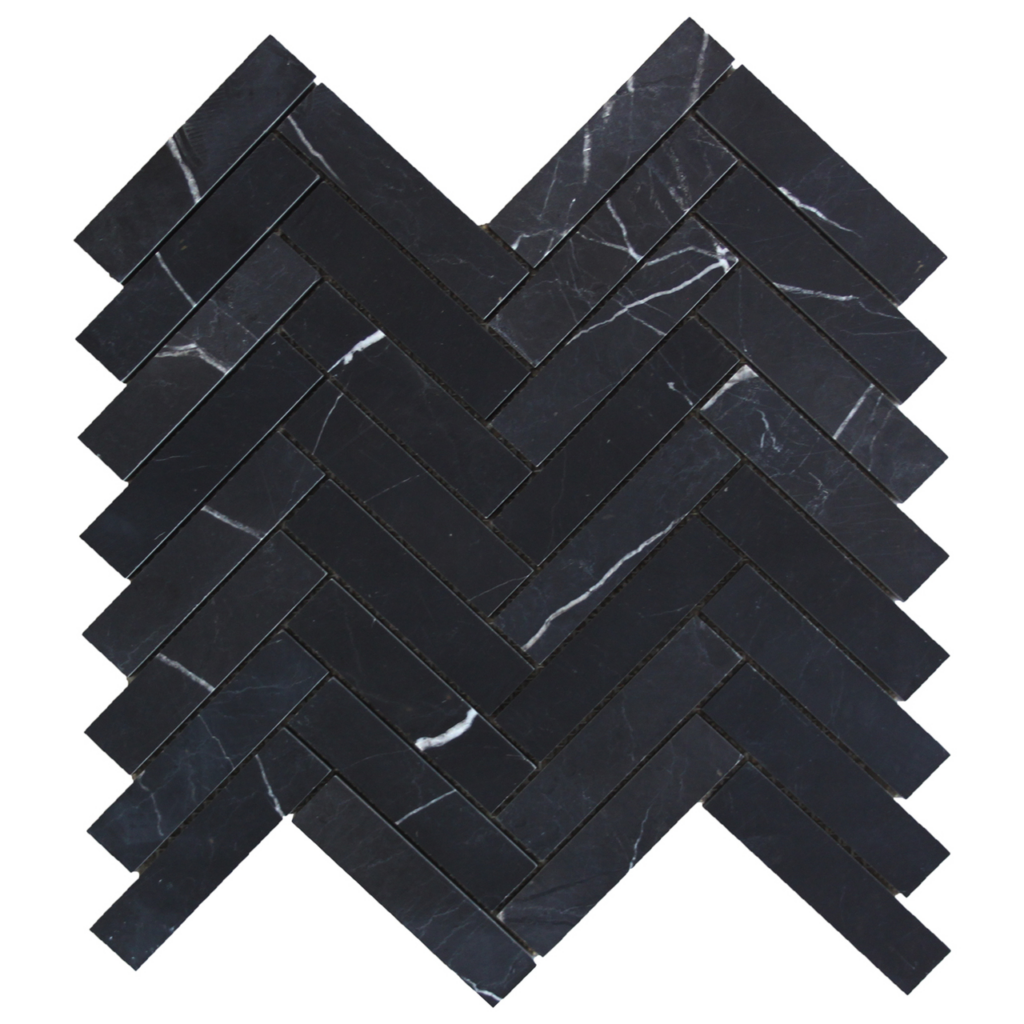
A classic tiling pattern hitting the market anew is the herringbone tiles, which were once widespread in ancient civilizations. Now, the herringbone style is one of the most prominent choices for modern home interior tile design. The tiling shape resembles the arrangement of the body of the herring fishbone structure, hence the name herringbone tiles. You can arrange these tiles in an angular or block form on the surface of the floor or the wall.
Whether you have wood, porcelain, or swirling marble, the herringbone tiles trend has come to stay for a long time to come. It is also very ideal for the environment in terms of aesthetic value and safety. You can stun your visitors with herringbone tiles arrangement for the walls and floors of public offices for coming years.
Preparing Herringbone Tiles
The Herringbone style is well known for versatility and adaptability. Earlier, we have mentioned applying the herringbone pattern for the walls and floors of homes and a splashback. However, the beauty of the herringbone tiles pattern largely depends on the type of tile you select. The materials eventually tell the kind of applications you can implement. Obviously, different raw materials in the building project serve other purposes.
So, if we consider if the general theme of the location of the house is wood, then you should buy porcelain tiles that look more like woods. Even if they don’t look exactly like wood, they should be compatible with the other items surrounding them. The beauty of the tiles that you use also has a way of mimicking the room’s overall concept. For instance, you can create a vintage-looking space where all the materials, including the tiles, follow suit.
Meanwhile, the wood-looking porcelain tiles can be highly durable and usable, particularly in moisture areas such as bathrooms and kitchens. Before you make your final choice of tile, kindly ensure that you understand its rating and suitability for either the floor or the wall. Bear in mind that the tiles you use for the floor differ from the wall tiles. At the end of the day, the anchor material gets to speak volumes about the full mode or condition of the room.
Uses of the Herringbone Tiles
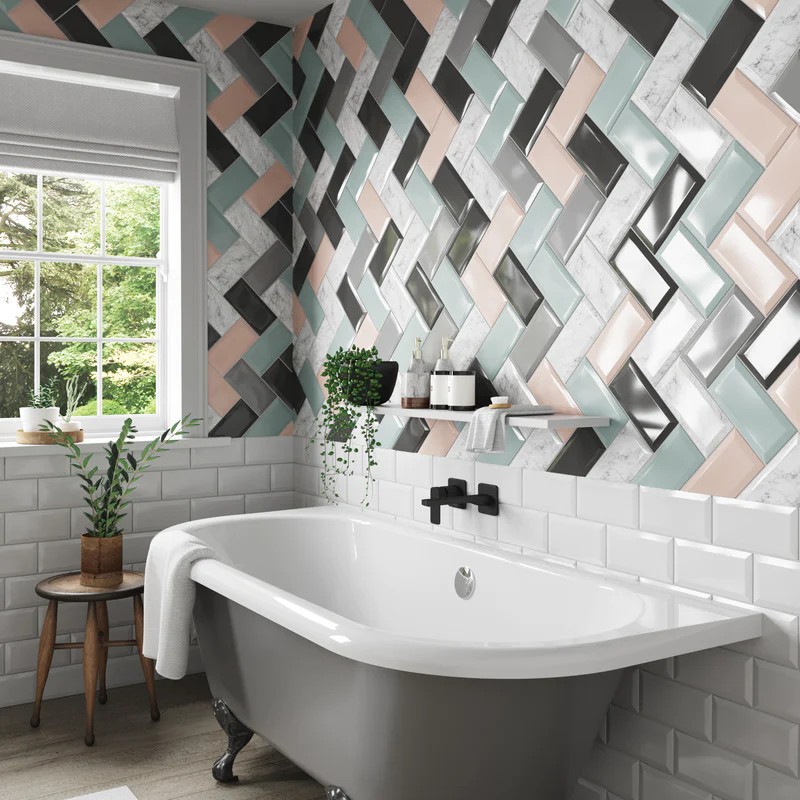
As you implement your plans, you also integrate the colour, style, scheme, and pattern. At the same time, the application of herringbone tiles in your home gives an instant upgrade in terms of renovation. And where subway tiles or glass tiles have their role in their particular ways, the herringbone pattern is the way to create a more regular background for others. It also carries a modern touch blended with the need to convince your visitors of your taste for inner beauty.
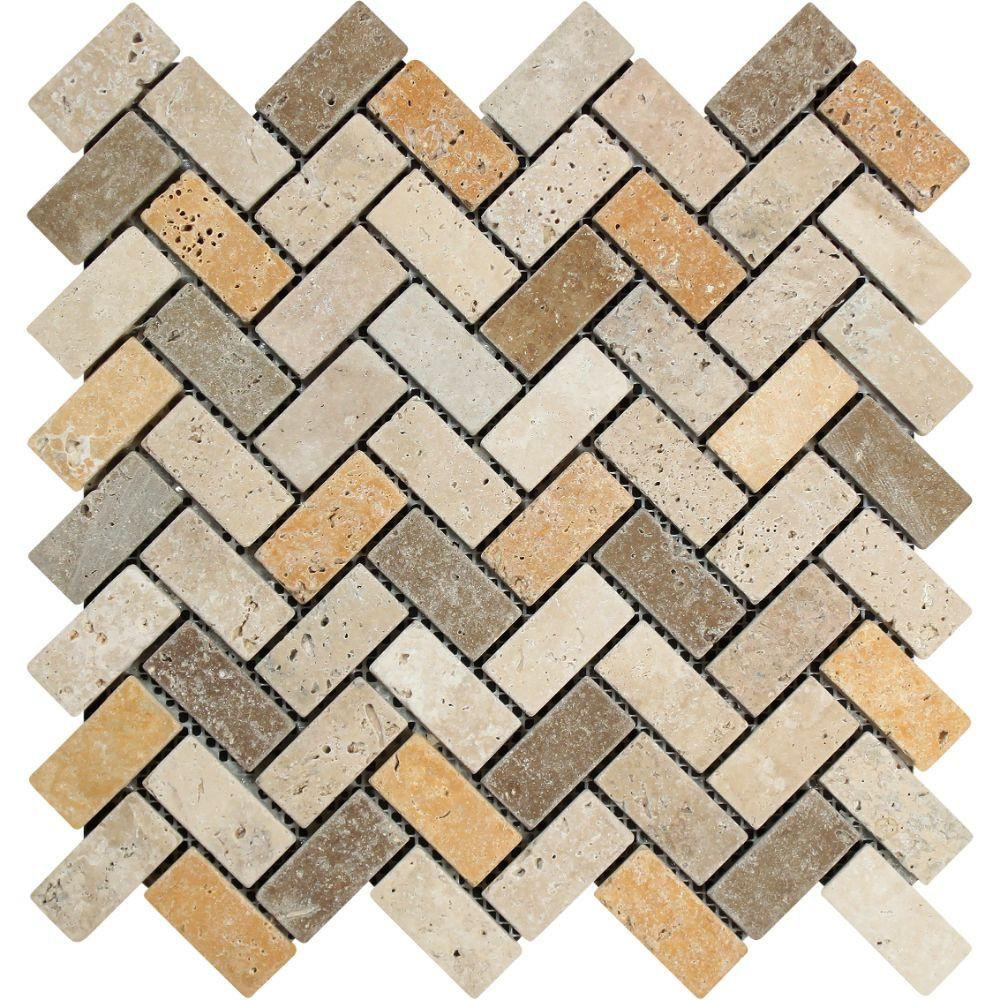
Using herringbone tiles, note that you can employ prefabricated sheets of small tiles to create the pattern. On the other hand, you may decide to use the subway or larger tiles to optimize any space within the wall or floor. However, the available amount of space determines the kind of tiles you can apply there. In other words, when the room is too small, you may want to employ smaller tiles in the herringbone pattern than block one to take a few.
Tips in installing Herringbone Tiles
As you have decided to install the herringbone tiles in your home, you should understand the basic tools you need. It is essential to note this, especially if you plan to use the DIY approach of things. Also, whether it is an entirely new flooring you are planning to install or a simple renovation, herringbone tiles have a huge role to play in your project. At the same time, irrespective of where you want to install it, tiling in the herringbone way takes time, patience, and skill.
In addition, you also get to choose the material, style, layout, and colour with all the other advanced requirements. But you can simplify the process when you understand how the whole process works. The place to begin is to determine the direction of the herringbone pattern, which is an excellent way to implement your plans. At the same time, herringbone tiles can appear in small pieces attached to the mesh for better hold during installation. But if you have larger tiles such as the subway type, planning the pattern in advance will save you a lot of energy.
5 Tools you need to install Herringbone Tiles
Below are the tools that you need to install herringbone tiles in your home
- Mortar
Mortar is essential to the process of laying herringbone tiles in the home. And you can get mortar from home material stores around you. So, when you get the material, mix it with water while ensuring that the mortar texture matches your needs. Also, mix the materials thoroughly until you have a homogeneous mixture and begin by applying it in small amounts.
- Grout and grout float
After installing the herringbone tiles, you may need to start applying grout for it to dry completely. At the same time, you need to mix the grout properly to all the spaces in-between with the aid of the rubber grout float. As you continue to fill the margins, and if anything spills over, you may wipe it off with a soft and damp cloth.
- Wet tile saw
While installing the herringbone tiles, the end of the wall or floor may require some cutting. Moreover, you may need to cut some pieces of the tile to ensure that everything fits together. A wet saw can do the job neatly and efficiently but ensure that you have your protective gears in place. Examples include protective glasses, ear protection and unique protective clothing. Also, before you cut, do your measurements twice to ensure accuracy.
- Hand trowel
It is not strange to identify what a hand trowel is and what it can do. This small tool can scoop, apply, and spread the mortar on the surface where you desire it. The process begins by digging some mortar out of the mixing bucket or pan with the trowel. The next step is to apply it down and slowly to the side with a gentle sweep. Depending on the mixed mortar thickness, you can now choose the right type of trowel.
- Spacers
The spacers are necessary for creating space between individual tiles. Small spacers allow the tiles to have a uniform distance between them and with an average thickness level. You need to pay attention to the measurements to achieve what you want.